# 城市选择控件
想到做这个,是因为无意中在github上看到了这一个仓库[https://github.com/lunlunshiwo/ChooseCity](https://github.com/lunlunshiwo/ChooseCity),做的就是一个城市选择控件,是用vue写的,说的是阿里的一道题目,然后想想自己闲着也是闲着,就动手用react又重新做了一遍。
## 演示
地址:[城市选择控件](http://city-selector.rynxiao.cn/)
github: [https://github.com/Rynxiao/city-selector](https://github.com/Rynxiao/city-selector)
整体效果如下:
## 运行
运行需知:首先去百度开放云平台申请自己的AK,申请方法见下面的**定位**
```cmd
# dev
npm install
npm start
# deploy
npm run build
npm install http-server -g
http-server ./build -p 38083 -s -P http://www.msece.com
localhost:38083
# test
npm run test
```
## 要求
- 可定位到当前所在城市,可支持传城市
- 下次打开优先选取上次定位城市,如本次定位和上次不一样,则取本地城市,同时展示最近选择的城市,最近选择的城市可配
- 城市列表按字母分组,如B组:北京、包头,同时左侧带A-Z导航符条,点击对应字母定位至对应的组位置,如点击C则定位至C组,同时弹出提示为C
- 支持城市搜索,页头带搜索框,可支持联想功能,注意性能
- 选择对应城市,会将对应城市数据带回给使用页面
- 支持单个页面上同时存在多个城市组件
- 页面用flex布局(css)
## 说明
个人采用的路由形式,因此没有做成一个具体的组件(要组件化也就是把state换成props传值即可),但是在整个页面中做了很小单元的拆分。另外“上次定位”的功能暂时未完善,容之后补上。
## 技术栈
采用的是react官网提供的脚手架[create-react-app](https://github.com/facebook/create-react-app),因此整体技术是`react`,采用`webpack`进行打包构建,`jest`测试。同时在此基础上新增了一些东西。
### sass
脚手架最开始不支持sass,开启sass需要如下配置:
```cmd
# 安装依赖包
npm install --save node-sass-chokidar
npm install --save npm-run-all
# 脚本中增加build-css与watch-css
# 修改start和build命令,让其可以同时运行多个命令
"scripts": {
+ "build-css": "node-sass-chokidar --include-path ./src --include-path ./node_modules src/ -o src/",
+ "watch-css": "npm run build-css && node-sass-chokidar --include-path ./src --include-path ./node_modules src/ -o src/ --watch --recursive",
"test": "react-scripts test --env=jsdom",
- "start": "react-scripts start",
- "build": "react-scripts build",
+ "start-js": "react-scripts start",
+ "start": "npm-run-all -p watch-css start-js",
+ "build-js": "react-scripts build",
+ "build": "npm-run-all build-css build-js"
}
# .gitignore中去除生成的css文件
src/**/*.css
```
### react-router
```cmd
npm install --save react-router-dom
```
安装依赖之后,增加了一个全局入口,在`src/container/index.js`中,如下:
```javascript
```
增加两个页面,路由分别如上配置。
### 定位
需要定位到当前城市,采用的是百度地图的定位,需要首先去百度地图开放平台上申请一个秘钥,地址在这里[http://lbsyun.baidu.com/apiconsole/key](http://lbsyun.baidu.com/apiconsole/key),进去之后查看js文档,这里不再赘述,可以自己去了解。
- 在`src/public/index.html`中加入百度开放平台提供的脚本链接,填上自己的秘钥。
```html
```
- `src/services/locationServices.js`中加入定位代码
```javascript
async function getLocalCity() {
return new Promise(resolve => {
var myCity = new window.BMap.LocalCity();
myCity.get(result => {
resolve(result.name);
});
});
}
```
### 获取城市数据
获取城市的接口API,历经千辛万苦终于在网上找到了一个能用的【这个接口有可能随时会挂哟😁😁😁】,但是数据格式可能不太满意,只能自己转化。如果不想用这个格式,你也可以自己起一个后台服务器,然后输出你自己喜欢的格式,这里我算是偷懒了。
之前的格式是按照省份区分的:
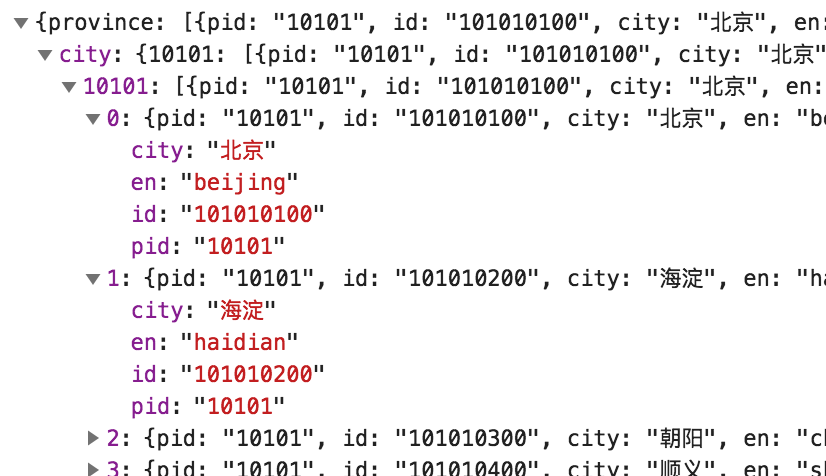
格式化之后的格式是按照拼音字母来区分的:

**设置代理**
因为请求的地址域名不一致,肯定会有跨域问题,这里在package.json中设置了代理,如下:
```javascript
"proxy": "http://www.msece.com"
```
**获取城市**
```javascript
// src/services/cityServices.js
async function getAllCities() {
const json = await axios.get(CITY_API);
return formatCites(json);
}
```
### UI
UI方面自己没有什么创意,所以使用了阿里的`antd-mobile`,可以去这里看:[antd-mobile](https://mobile.ant.design/docs/react/introduce-cn)
```javascript
// 安装依赖
npm install antd-mobile --save
// 按需加载
// 1. 安装依赖
npm install react-app-rewired --save-dev
npm install babel-plugin-import --save-dev
// 2. 在package.json中,将script中的 react-scripts 换成 react-app-rewired
// 3. 在根目录下建立config-overrides.js,内容如下:
const { injectBabelPlugin } = require('react-app-rewired');
module.exports = function override(config, env) {
config = injectBabelPlugin(['import', { libraryName: 'antd-mobile', style: 'css' }], config);
return config;
};
// 4. 更改引入方式
// before
import Button from 'antd-mobile/lib/button';
// after
import { Button } from 'antd-mobile';
```
## coding
进行了组件的拆分,主要为:
- 头部
- 搜索区域
- 需要定位的城市区域(分为最近城市和热门城市)
- 列表区域
- 右侧导航区域
- 搜索弹层区域
具体可以参看`src/components/city`下的组件
### 最近选择城市
采用的是本地localstorage进行存储,默认最多存储两个,后选择的城市会替换掉第一个,如果选择的城市中有相同的,则不进行替换。页面公用本地存储,若不想公用,可以在之后区分id即可。
### 热门城市
热门城市是自己预先定义的,如果不希望预先定义,也可以参照某些API,这里算是偷懒。
### 导航条滑动
之前的写过一篇文章[移动端效果之IndexList](https://www.cnblogs.com/rynxiao/p/7694601.html),具体实现可以参看。
### 搜索联动
支持中/英文搜索,中文搜索是进行了全数据遍历,英文搜索是进行了首字符判断,然后再进行子集遍历。在搜索方面,使用了函数节流,如果在1秒中之内还没有输入完成,则必须进行一次搜索。
```javascript
// src/utils/index.js
function throttle(fn, wait = 500, period = 1000) {
let startTime = new Date().getTime();
let timeout;
return (...args) => {
return new Promise(resolve => {
const now = new Date().getTime();
if (now - startTime >= period) {
startTime = now;
resolve(fn.apply(null, args));
} else {
timeout && clearTimeout(timeout);
timeout = setTimeout(() => {
resolve(fn.apply(null, args));
}, wait);
}
});
}
}
// src/pages/city/City.js
const searchCity = throttle(searchCityByName);
onSearchInput = async value => {
if (!value) {
this.hideMenuDialog();
return;
}
const { labels, city } = this.state;
const cities = await searchCity(value, labels, city);
this.setState({
searchArea: true,
searchCities: transformCityMenuData(cities)
});
}
```
### 部署方面
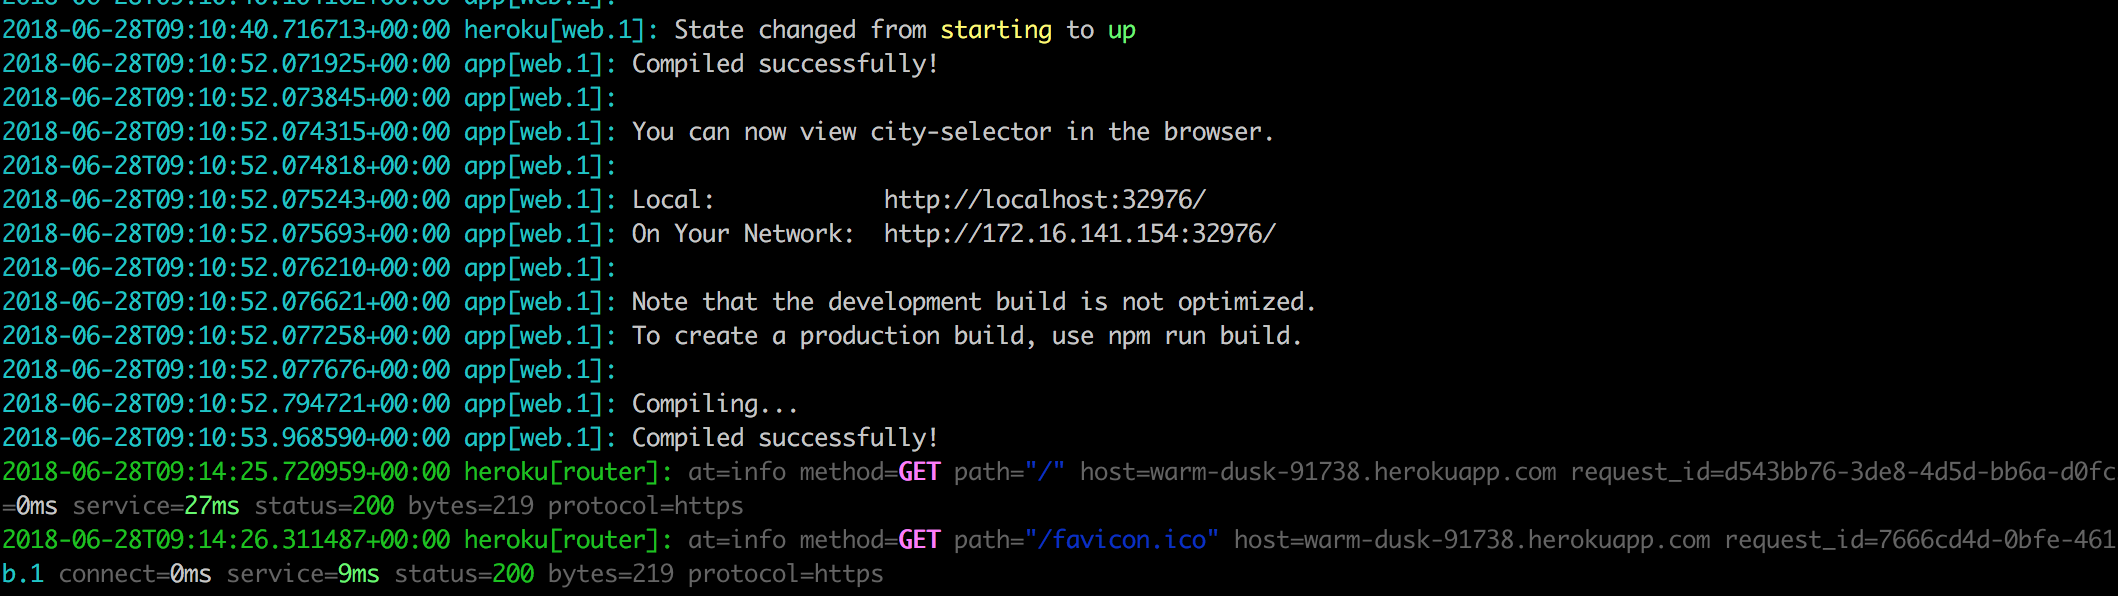
本来是想使用`heroku`来部署应用的,但是经过一番折腾之后,在heroku的日志中看到服务是已经启动了的,但是外网访问不了,还需要技术支持^_^
后来只能就部署到自己的腾讯云上面去了,案例地址为:[城市选择控件](http://city-selector.rynxiao.cn/)
## 总结
自己看到后就想写来玩玩而已,在其中也进一步了解了测试、react-router 4的用法,以及蚂蚁金服的UI库,也不是说没有收获。在项目中,也经过了一系列的代码重构,比如组件拆分、公共类库提取等等,写案例的同时也是在训练自己的意识,特意分享出来,大家共勉。
最后,代码仓库为:[https://github.com/Rynxiao/city-selector](https://github.com/Rynxiao/city-selector),如果觉得有点意思,多谢star。